Easy 10-Minute Chocolate Donut Glaze for Bakery Quality
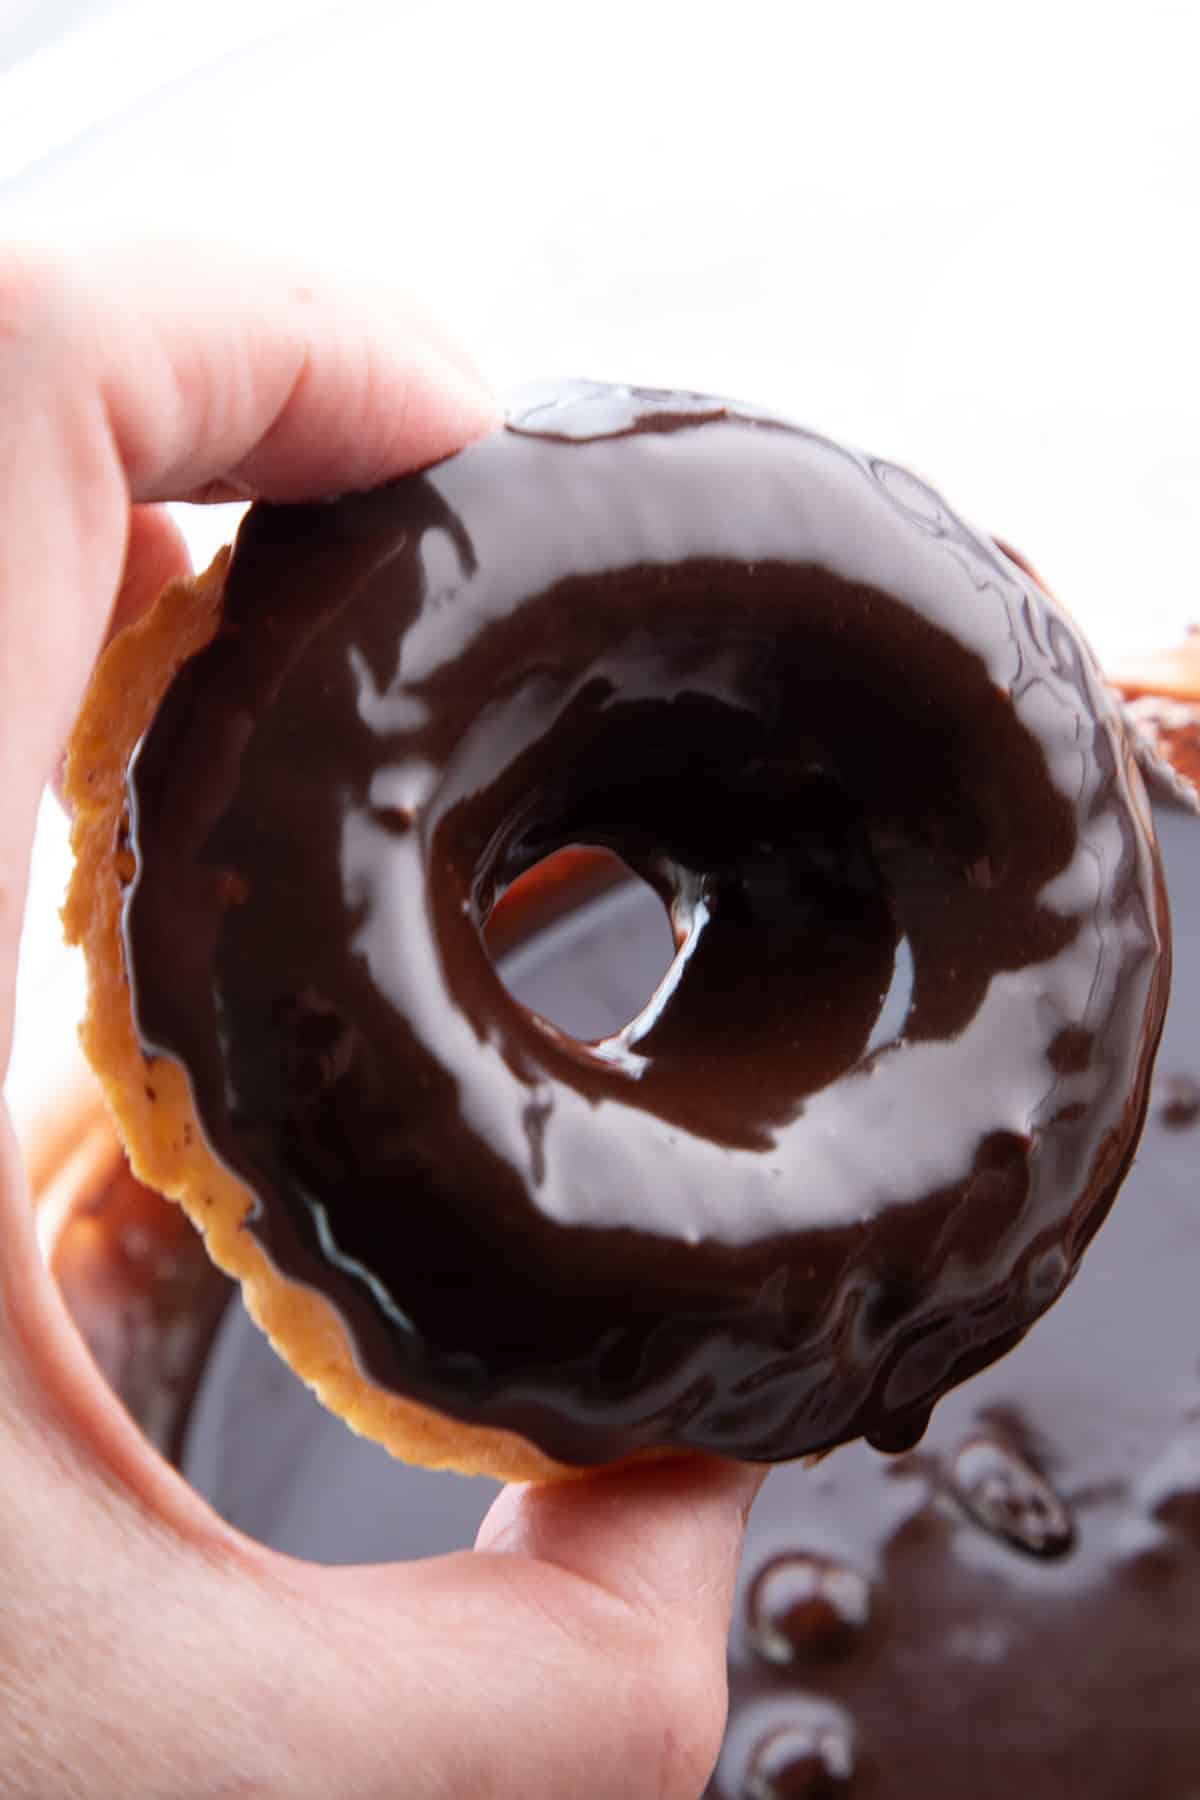
Imagine biting into a perfectly glazed donut, its rich chocolate coating shimmering and yielding with a satisfying snap. Now, imagine achieving that same bakery-quality finish, brimming with delectable flavor, right in your own kitchen – and in just 10 minutes! No longer reserved for professional pastry chefs, a truly irresistible
chocolate donut glaze is surprisingly simple to master. This article will guide you through creating a flawless, glossy, and utterly delicious glaze that will transform any homemade donut into an extraordinary treat.
The Secret to a Bakery-Quality Chocolate Donut Glaze, Fast!
The allure of a homemade donut lies not just in its fluffy or cake-like texture, but also in its topping. A dull, runny, or stubbornly sticky glaze can diminish even the best donut. Our target here is a glaze that's smooth as silk, shiny, and sets perfectly to the touch, delivering that satisfying experience of a premium dessert. And the best part? It genuinely comes together in about 10 minutes, making it ideal for weekend baking projects or impromptu sweet cravings.
The magic of this speedy
chocolate donut glaze lies in its simplicity and the synergy of just a few key ingredients. We're talking about melted chocolate, a touch of oil for unparalleled shine and a smoother dip, and often a hint of vanilla and a pinch of salt to deepen and enhance that rich cocoa flavor. Whether you’re a fan of classic yeast-raised rings, a devotee of dense baked donuts, or prefer the comforting chew of old-fashioned varieties, this easy `chocolate donut glaze` truly elevates them from simple treats into confectionery masterpieces. It's the ultimate finishing touch that promises a "wow" factor with minimal effort.
Crafting Your Silky Smooth Chocolate Donut Glaze: A Step-by-Step Guide
Achieving that perfect, glossy finish starts with the right technique and understanding the role of each ingredient. Forget complicated syrups or obscure additives; this method is straightforward and highly effective.
Essential Ingredients:
* High-quality baking chocolate (bars or chips work well)
* Coconut oil or vegetable oil
* Pure vanilla extract
* A pinch of fine sea salt (optional, but highly recommended for flavor depth)
The Melting Method:
The foundation of your glaze is perfectly melted chocolate. You have two excellent options:
1.
Microwave: This is the fastest route. Break your chocolate into small, uniform pieces. Place them in a microwave-safe bowl and heat in 30-second intervals, stirring thoroughly after each interval. Continue until the chocolate is mostly melted and smooth, with no lumps. Be careful not to overheat, as this can cause the chocolate to seize or burn.
2.
Double Boiler: For a more controlled, gentler melt, use a double boiler. Place a heat-proof bowl over a saucepan of simmering water, ensuring the bowl does not touch the water. Stir the chocolate frequently until smooth and fully melted. This method minimizes the risk of burning and creates a beautifully consistent base.
The Magic of Oil:
Once your chocolate is melted, stir in 1 tablespoon of coconut oil or vegetable oil. This isn't just an optional ingredient; it's a game-changer. The oil serves two crucial purposes:
* **Thinning for Dipping:** It creates a thinner, more liquid consistency, making the `chocolate donut glaze` incredibly easy to dip your donuts into without clumping or tearing.
* **Unrivaled Shine:** The oil is your secret weapon for that irresistible, glassy sheen. It helps the glaze set with a brilliant, polished finish that truly looks bakery-professional. For deeper insights into achieving this perfect shine, explore our article on
Secrets to a Silky, Glossy Chocolate Glaze That Sets Perfectly.
Flavor Enhancers:
Finally, stir in a teaspoon of pure vanilla extract and a tiny pinch of fine sea salt. The vanilla adds a warm, aromatic depth that complements the chocolate beautifully, while the salt magically enhances the cocoa notes, cutting through the sweetness and preventing the glaze from tasting one-dimensional. These small additions make a monumental difference in the overall flavor profile of your
chocolate donut glaze.
Achieving the Perfect Consistency:
Sometimes, a glaze might be too thick or too thin. Don't worry, it's easily adjustable:
*
If too thick: Stir in another teaspoon of warm coconut or vegetable oil, or microwave the glaze for just 3-5 seconds to loosen it up.
*
If too thin: Let it sit for about five minutes, then give it a good stir. As the chocolate cools slightly, it will naturally thicken.
Remember to work relatively quickly once your glaze reaches the ideal consistency, as it will continue to set as it cools.
Mastering the Dip: Achieving That Perfect Glossy Finish
You've crafted a beautiful, smooth glaze – now it's time for the crowning moment: dipping your donuts! This step is where many home bakers either succeed spectacularly or face common pitfalls. The key to that pristine, bakery-style finish lies in one critical rule:
The Golden Rule: Cool Donuts!
This is perhaps the most important piece of advice for any `chocolate donut glaze`. Your donuts *must* be completely cooled before dipping. If donuts are still warm, the glaze will melt on contact, running down the sides, becoming streaky, or worse, soaking into the donut itself, leaving you with a messy, uneven coating. Letting your donuts cool completely on a wire rack allows the glaze to adhere in a smooth, thick, and uniform layer, ensuring that satisfying, dry-to-the-touch finish.
The Dipping Technique:
1.
Prepare Your Station: Have your cooled donuts ready next to your bowl of warm, perfectly consistent chocolate glaze. Place a wire rack over a baking sheet or parchment paper to catch any drips.
2.
Dip with Confidence: Holding a cooled donut by its bottom, gently immerse the top half into the warm
chocolate donut glaze. Don't submerge it completely unless you want a fully coated donut.
3.
Allow Excess to Drip: Lift the donut, letting any excess glaze drip back into the bowl for a few seconds. A slight twist can help remove extra glaze.
4.
Place on Wire Rack: Carefully place the glazed donut, glaze-side up, on your prepared wire rack. This allows air circulation for even setting and prevents the bottom from getting soggy.
Toppings and Setting:
If you plan to add sprinkles, chopped nuts, shredded coconut, or a drizzle of contrasting white chocolate, do so immediately after dipping, while the glaze is still wet. As the glaze cools and sets, it will "grab" your toppings, holding them firmly in place for a professional look. The glaze will typically set to a firm, dry-to-the-touch finish within 10-20 minutes, depending on the thickness and ambient temperature. For more advanced techniques and to truly
Elevate Your Homemade Donuts with the Ultimate Chocolate Glaze, delve into our specialized guide.
Elevate Your Glaze: Creative Variations and Serving Suggestions
While the classic
chocolate donut glaze is a triumph on its own, don't hesitate to experiment and personalize your creations.
Flavor Twists:
*
Intense Dark Chocolate: For true chocolate lovers, use high-quality dark chocolate for a richer, less sweet glaze.
*
Citrus Zest: Stir a teaspoon of finely grated orange or tangerine zest into the warm glaze for a bright, refreshing twist.
*
Minty Fresh: Add a few drops of peppermint extract for a festive, cool flavor, perfect for holidays.
*
Spicy Kick: A tiny pinch of cayenne pepper can add a surprising and delightful warmth to your chocolate glaze.
*
Espresso Boost: Dissolve a teaspoon of instant espresso powder in a tablespoon of hot water, then stir it into the melted chocolate for a deeper, more sophisticated cocoa note.
Decorative Touches:
*
Contrasting Drizzles: After your chocolate glaze sets, melt some white chocolate or even caramel and drizzle it over the top for a beautiful visual and flavor contrast.
*
Texture Play: Beyond sprinkles, consider toasted coconut flakes, mini chocolate chips, crushed pistachios, or even candied ginger for added texture and gourmet appeal.
*
Sea Salt Finish: A sprinkle of flaky sea salt over the wet glaze enhances the chocolate flavor and adds a sophisticated touch.
Serving Suggestions:
Homemade glazed donuts are a guaranteed crowd-pleaser, whether you’re serving them fresh on a weekend morning or impressing guests with your homemade flair. Pair them with a strong cup of coffee, a frothy latte, or a cold glass of milk for the ultimate indulgence. For special occasions, arrange them artfully on a platter and watch them disappear!
Storage Tips:
Store glazed donuts in an airtight container at room temperature for 1-2 days to maintain their freshness and glaze integrity. If you have leftover glaze, transfer it to an airtight container and refrigerate. When you're ready to use it again, gently reheat it in the microwave or a double boiler, stirring well. You might need to add a tiny bit more oil or a splash of milk to restore its perfect dipping consistency.
Embracing the art of donut making, from the fluffy dough to the perfect `chocolate donut glaze`, is a rewarding experience that brings bakery-quality delights into your home. With this easy-to-follow guide, you're now equipped to create shiny, delectable, and memorable glazed donuts that will have everyone asking for your secret recipe. So, gather your ingredients, set aside 10 minutes, and get ready to transform your homemade donuts into extraordinary masterpieces!